
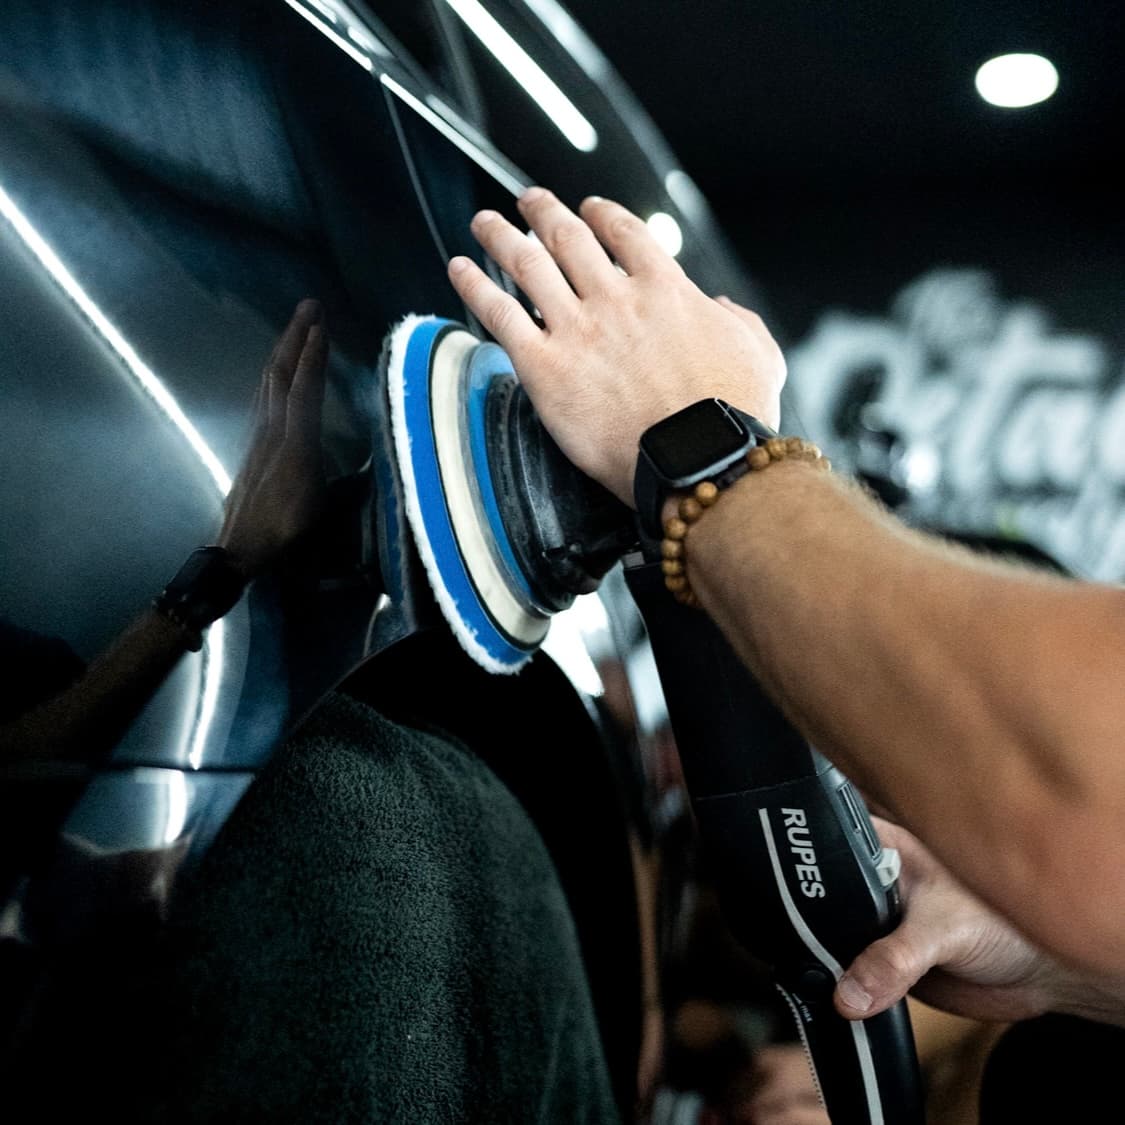
DA POLISHER 101:
HOW TO REMOVE SCRATCHES
WITHOUT WRECKING YOUR PAINT
A dual-action polisher in the wrong hands can burn through clear coat in under 30 seconds. In the right hands, it removes years of swirls and scratches in an afternoon.
The machine itself isn't dangerous. The technique is. Every detailer we've talked to who "burned" a panel did one of five things wrong — and all five are completely preventable. This guide covers everything: pad selection, compound choice, machine speed, arm movement, and the inspection process that separates a finished correction from a panel that looks worse than when you started.
We're not going to waste your time on brand debates. We're going to tell you exactly what to do, in what order, and what will happen if you skip a step.
30s
to burn clear coat at wrong speed on a hot panel
75%
of daily drivers have correctable swirl damage right now
3
pad types every detailer needs — cut, polish, finish
What a DA polisher actually does to your paint.
A dual-action (DA) polisher moves in two motions simultaneously: it rotates on its own axis while also orbiting in a circular pattern. This random orbital movement is what makes it forgiving. Unlike a rotary polisher, which spins in one direction and generates aggressive, focused heat, a DA distributes heat and abrasion across a wider, more random area. That's why it's the right tool for 90% of correction jobs — it's harder to burn paint with because it self-interrupts.
But "harder to burn" doesn't mean "impossible to burn." Stay in one spot too long, press too hard, use a pad that's too aggressive for your clear coat thickness, or work on a hot panel in direct sun and you will see damage. The physics don't change because the machine is designed to be forgiving.
The Rupes LHR 21 and BigFoot series — the machines you see most in professional shops — run a 21mm orbit. Larger orbit means more aggressive cut but better finishing capability at the same time. For most enthusiasts, a 15mm orbit machine is plenty.
Six steps.
No shortcuts.
Wash and decontaminate first. Always.
Polishing over dirt is how you go from swirls to deep scratches. Wash with your car wash soap of choice, then clay bar or iron decontaminate the panel. Run your fingers in a plastic bag over the paint — if it drags, you're not ready to polish. This step alone prevents 80% of the mistakes we see.
2×
more scratch risk when polishing over uncleaned paint
Match your pad to your problem.
Cutting pads (foam or wool) cut faster, generate more heat, leave more haze — use these for heavy scratches and oxidation. Polishing pads are your middle ground: moderate cut, less haze. Finishing pads remove haze and refine the surface after cutting. Start with the least aggressive combination that gets the job done. You can always step up. You can't undo a burned panel.
3
pad types — cutting, polishing, finishing. Use them in order.
Prime the pad before your first pass.
Apply 4–5 pea-sized dots of compound or polish directly onto the pad. Spread it across the panel at speed setting 1 before turning up. An unprimed pad throws product everywhere and starves the panel. This is one of the most skipped steps — and it shows in the results.
4–5
pea-sized product dots on the pad before every fresh section
Work in 2×2 foot sections. Slow arm speed.
Set your DA to 5–6 (out of 6) for cutting, 4–5 for polishing. Keep the pad flat on the surface. Move slowly — about 1 inch per second. Overlapping passes by 50% each time. Let the machine do the work. The most common beginner mistake is moving too fast and not letting the abrasives break down. You should see the compound go clear before moving on.
1 in/sec
optimal arm speed — most beginners move 3× too fast
Inspect under a paint correction light.
A shop LED or a simple work light held at a low angle will reveal everything your overhead lighting hides. After each section, wipe off the residue with a clean microfiber and inspect before moving on. This is how professionals catch issues early instead of discovering them after buffing out the entire car.
15°
light angle that reveals swirls most fluorescent overhead lighting misses
Follow compound with polish, then protect.
Compound removes material but leaves micro-marring. A finishing polish on a soft pad refines the surface and brings the gloss. After that, the paint is unprotected — apply a sealant, wax, or ceramic coating within 24 hours. Corrected paint with no protection is a clean slate that will pick up contamination faster than before.
24h
window to seal corrected paint before contamination sets in
Five mistakes that
ruin the correction.
Products for this job.

3D ACA 500 X-Tra Cut

Ceramic Shield
The bottom line.
Paint correction is one of the highest-impact things you can do for a vehicle's appearance. It's also one of the easiest to screw up if you skip the fundamentals. Follow the six steps above in order. Don't rush the prep. Don't skip the finishing polish. Don't leave corrected paint unprotected.
The difference between a professional result and an amateur one almost always comes down to patience — not technique. The machine is doing the work. Your job is to let it.